This article is intended to teach you the proper monthly maintenance of your Slushie machine. Keeping your machine clean and well-maintained will help you sell more products and minimize the chances of major repairs required in the future. Let’s go through a simple step-by-step process you should follow every month to keep your Slushie machine clean and in working order.
- To complete this process you’ll need the following items
- A health-code-approved 3-bowl sink
- Warm water
- Food grade sanitizer/detergent
- Clean wash towels and paper towels
There are two types of Slush machine maintenance
- Quick Clean
- Deep clean.
Quick cleaning can be done regularly once every 2 or 3 days. It is to ensure that the material doesn’t get contaminated.
Deep Cleaning is a thorough cleaning, it is to be done once in 15 days or a month to ensure machine health along with the prevention of contamination of the material.
First, we’ll see the Quick cleaning of the Slush Machine.
Quick Cleaning of Slush Machine
Step 1: Draining the machine
Drain the machine by turning the ice chill button off. In most slushie machines this button can be found below the display screen.
Note: Each side operates independently of each other.
Empty the Slush Machine Bowl
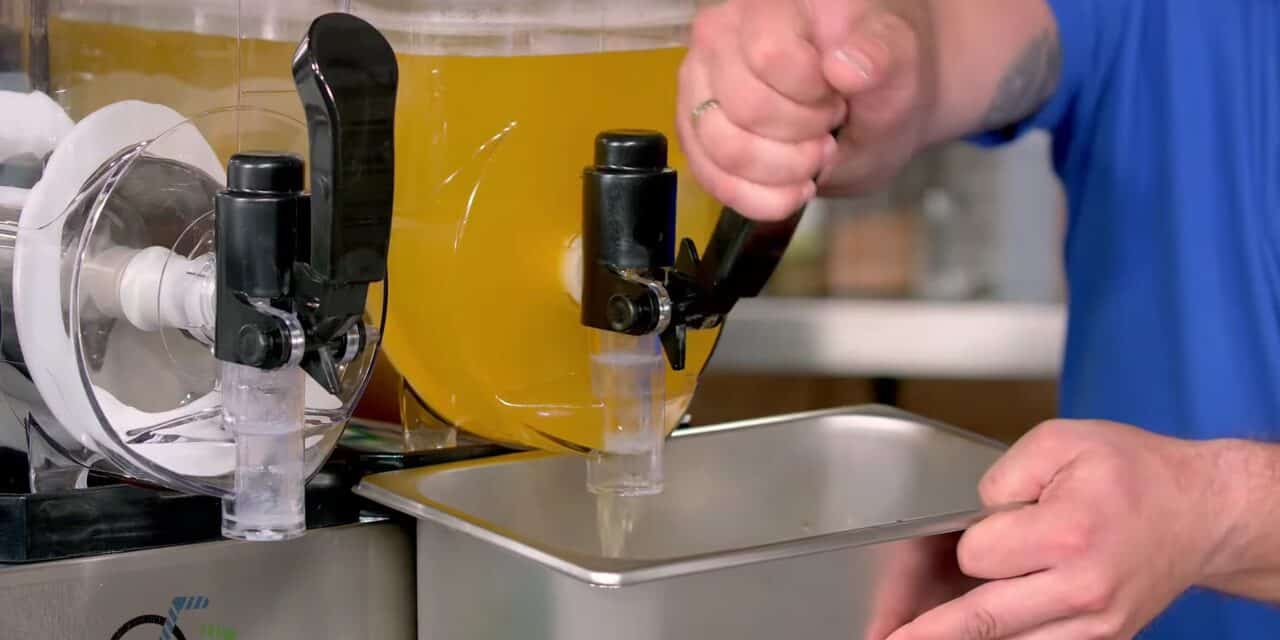
Step 2: Draining the product
Drain the product out of the slushy machine by making sure the machine is completely empty. Now, use lukewarm water to rinse the remaining product out of the hopper. Once the hoppers are empty turn the auger to the off position.
Add lukewarm water
Also, add a few drops of detergent or dishwashing liquid to it.
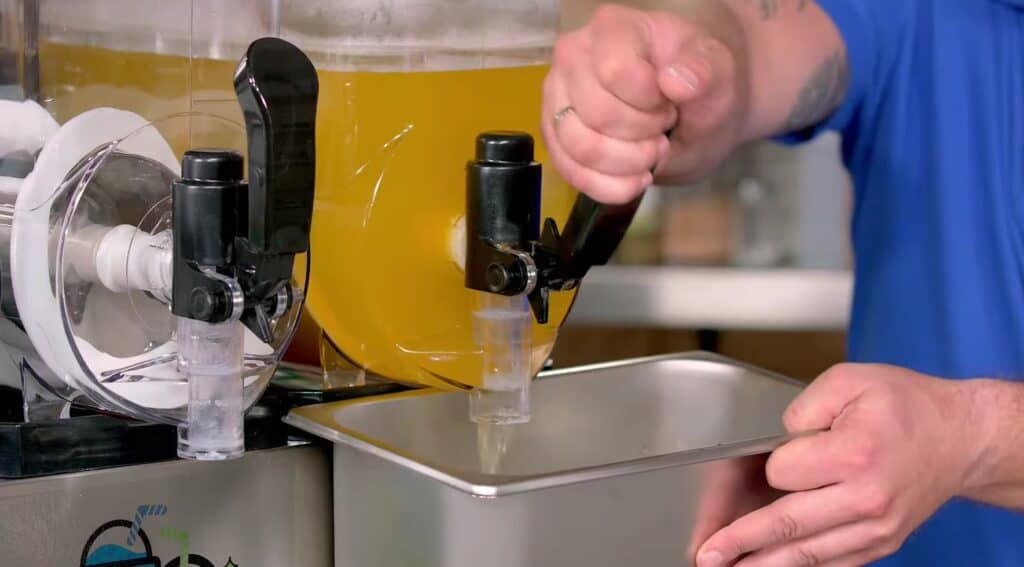
Step 3: Turn on the slush machine
Turn the machine on and let it run for a minute or two. (with the mixture of water and detergent inside, cleaning the bowl). Then turn it off and remove the water once again.
Run the Slush Machine with the mixture of water & detergent inside
Repeat step no 3, until it rises out detergent from the bowl. After you rinse the Slush Machine, make sure you dry it very well before adding material to prepare Slushies. You can use a dry cloth or paper towel to wipe it. Once, after ensuring it is dried, it can be ready to use to make slushies again.
This was the Quick Cleaning maintenance method. Now let us check out the deep cleaning maintenance steps of Slush Machine.
Deep Cleaning maintenance of the Slushy Machine
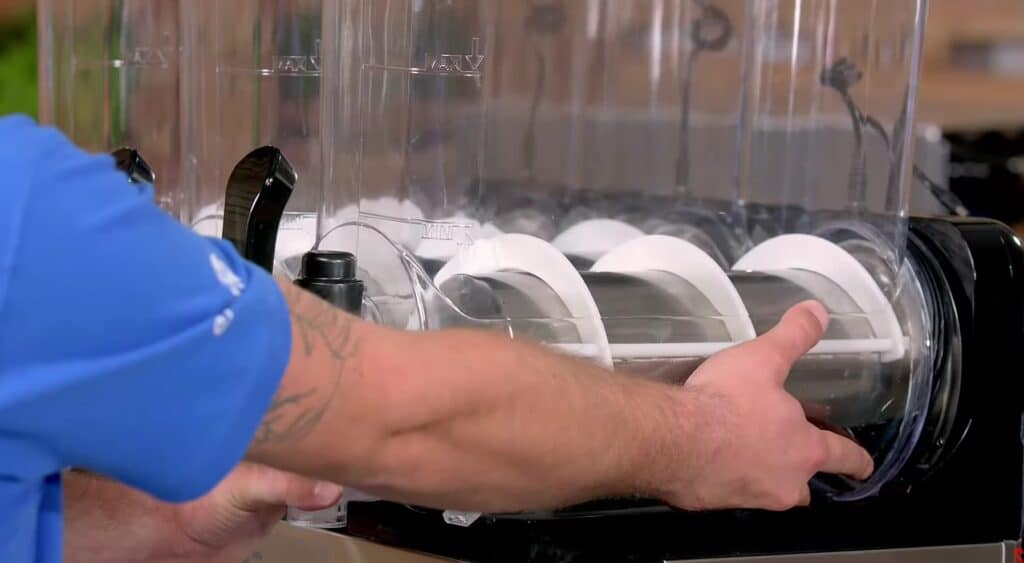
Step 1: Remove the Chamber
Remove the chamber by lifting it slightly up and pulling it off the chilling unit, as shown in the figure.
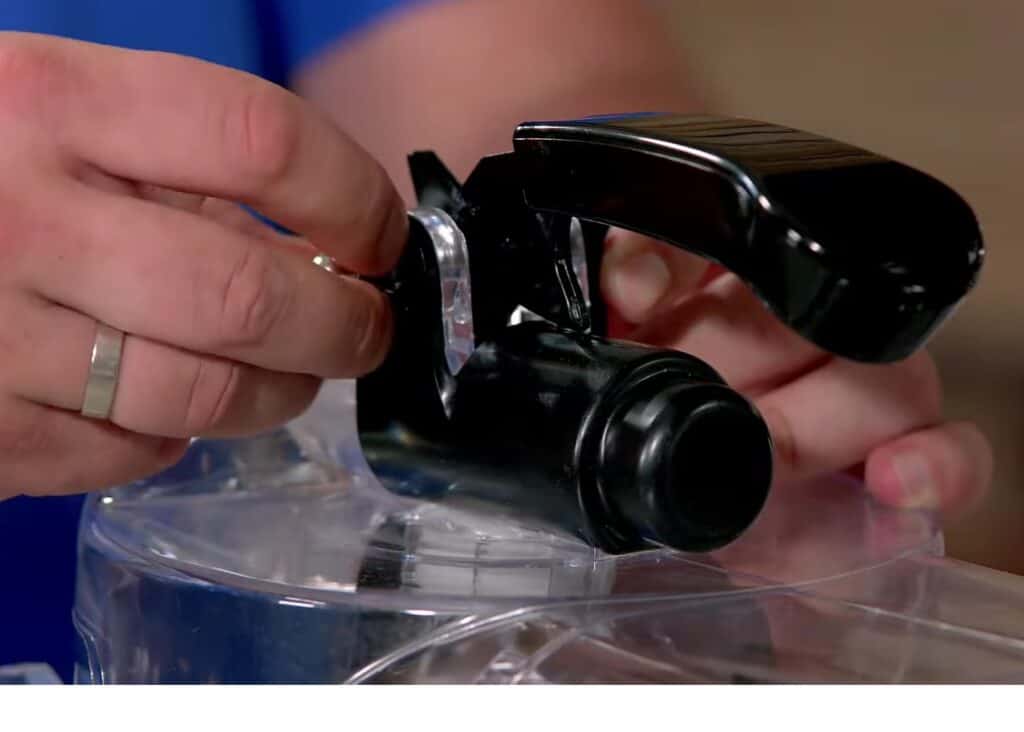
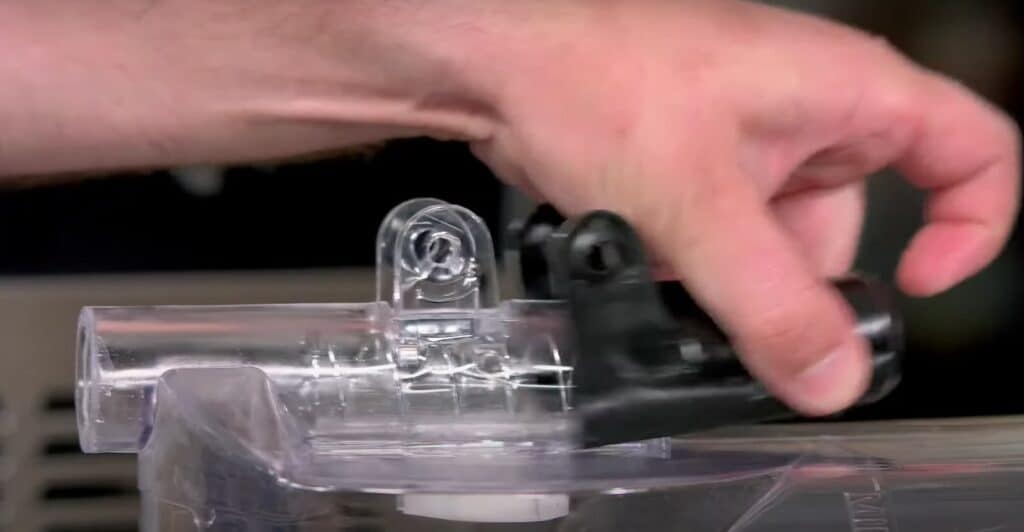
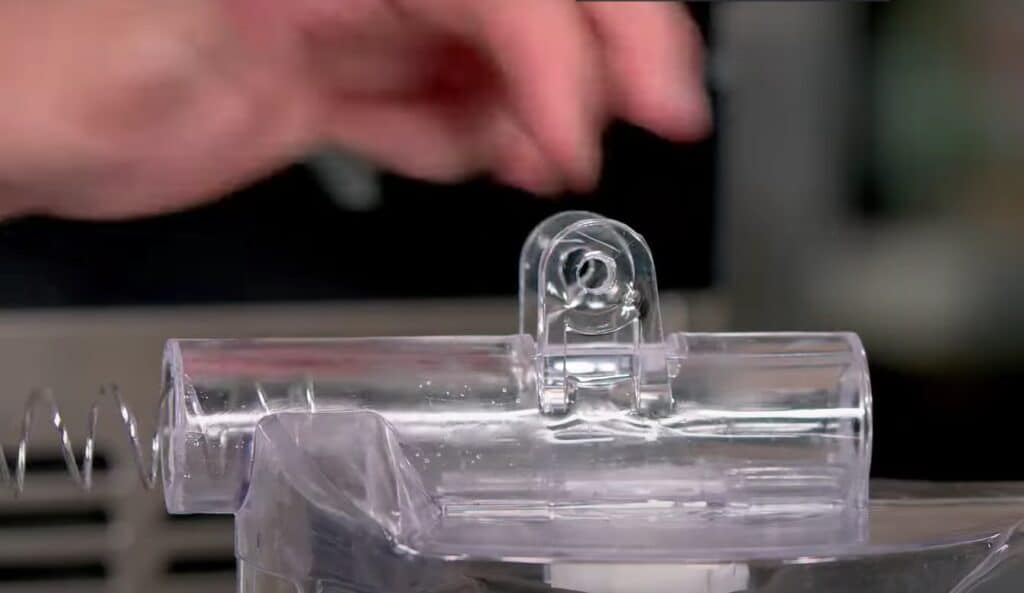
Step 2 Disassemble its Tap Assembly
Step 4: Take the cover off
Step 5 : Push out the spring
Step 6: Pull up the auger
Pull out the auger of the slush machine
Step 7: Pull the back steel

Pull out back seal of slush machine
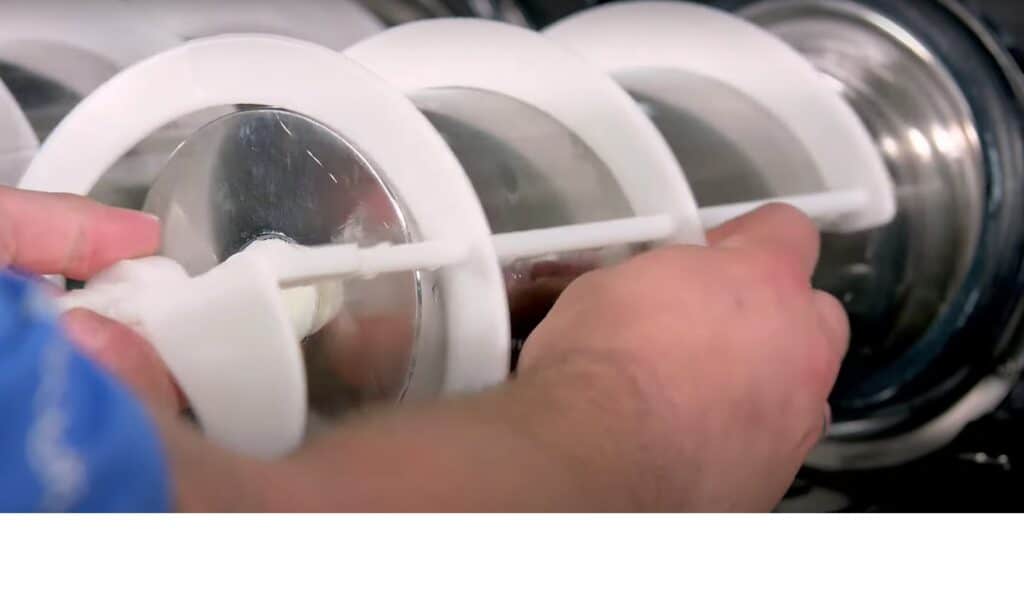
Step 8: Pull out the spacer
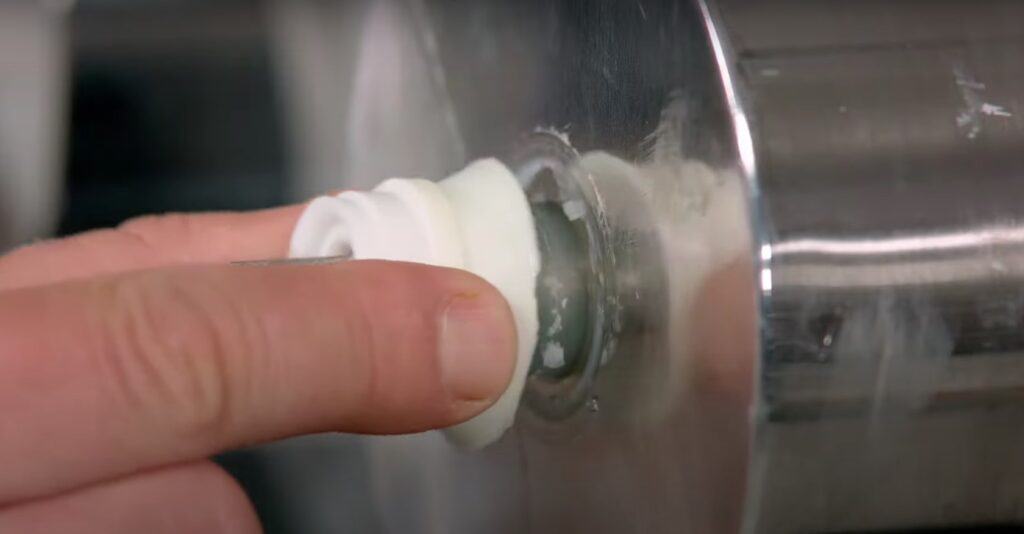
Pulling out the spacer
Step 9: Cleaning the machine
Place the faucet, spring, nose bushing, handle, and drip tray. auger, hopper, and seals inside the sink with warm water.
The process is to wash, rinse, and sanitize. Do not scrub the hopper with an abrasive brush. This may scratch the hoppers. Instead wash the hoppers with lukewarm water, dish detergent, and food-grade non-abrasive disinfecting wipes. You may also choose to use a terry cloth towel.
Next, clean the auger, drip tray, handle, faucet, spring, nose bushing, and seals being careful to remove products that may be stuck to these parts.
Run the light lid under warm water and rub with a cloth to remove excess product
Note: while the lights are water resistant you should avoid completely submerging them
Allow all parts to air dry. Using food-grade sanitizer spray the cylinder’s upper drip tray and wipe clean. You can also wash the back motor housings in the front of the machine with sanitizer.
Step 10: Cleaning filter
A dirty filter is the number one problem with Slushy machines. The filter is the entire rear of the machine. You can remove the filter by pulling it down and up using the two tabs on the filter. Remember, even the machine has to breathe, wash the filter under hot water until the water runs clear, then replace the filter by placing the bottom and the track and snapping it back into place.
Note: The filter should be cleaned every 15 days
Step 11:Reassemble the auger, hopper, and drip tray
Replace the hopper seals on the flange on the back of the cylinder.
Start with the flat part of the seal towards the machine from the bottom and work your way around the flange until the seals are snug against the back of the cylinder. This is the most important piece of the machine as it keeps all the products inside the hopper.
Replace the auger and turn until the auger clips into the slotted part of the machine shaft. Once in place, you will not be able to turn the auger with your hand. Replace the auger then push down on the cylinder to level the barrel. This will prevent “take-seal leaks” by keeping pressure on the top portion of the seal. Replace the auger nose bushing inside of the front of the hopper.
Slide the hopper and push back until the hopper drops into place and locks. Ensure you haven’t pinched the hopper seal. A pinch seal will cause the product to leak outside of the hopper.
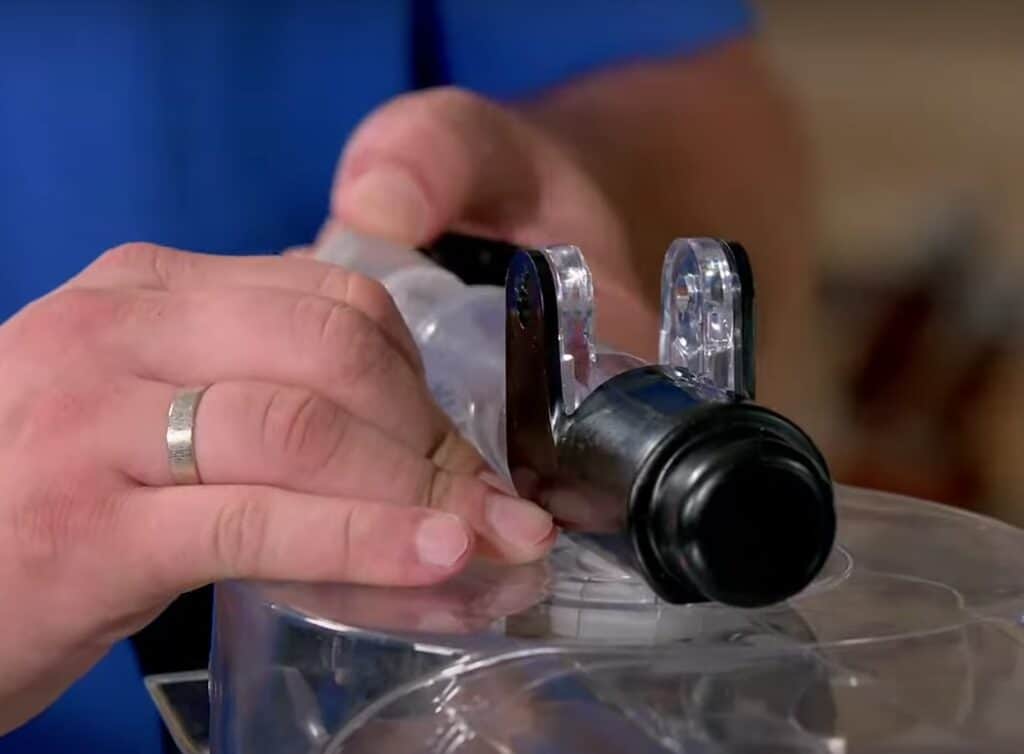
Step 12: Attaching handles and faucets
First, inspect the seal for any creases or damage. If the seal is intact carefully replace the faucet seal and spring inside the faucet. The seal is designed to fit only one direction, slide the faucet into place on the hopper.
Replace the handles by hooking the post on the hopper. Push on the handle to ensure you’ve assembled the faucet correctly. Use your hand to ensure the seal is still in place.
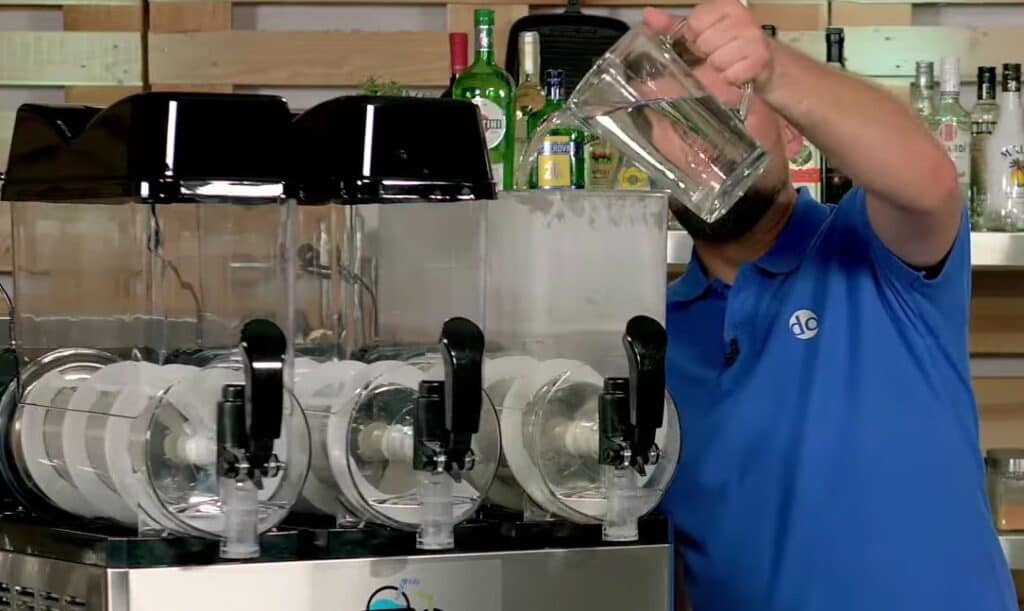
Step 13: Place the product into the machine
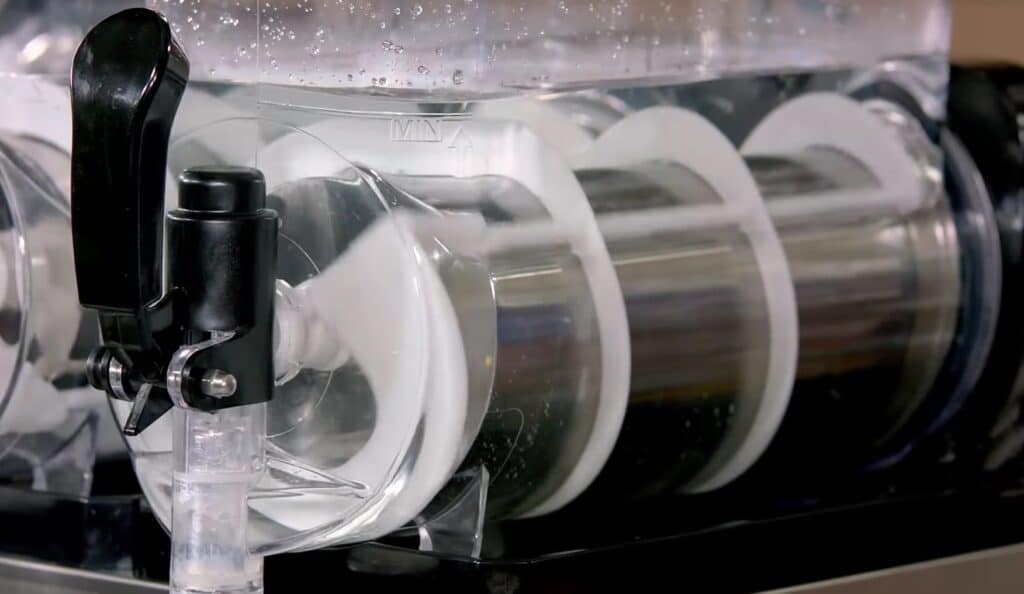
Remove the product from the refrigerator or cooler and pour it carefully into the slushie machine. Mix enough product to ensure the machine is filled to the maximum fill line.
Check to ensure the product is not leaking from the drip tray, backside, or bottom of the machine. If you see a product leaking, drain the product and replace the tank seal. Replace the product sensor. Replace the light lids and plug them in. Replace the drip tray.
Step 14:Turning the machine on
Turn the machine on. Push the snowflake button on both, the right and left sides until the screen says “ICE” in the capital letters. This should turn on the augers as well but if not press the auger button until the auger starts to spin. The screen will say auger on. Hold the ultra button for 4 seconds to reset the filter needs a cleaning message. This will appear after every 30 days after reset. Check for leaks one more time to ensure the product is not leaking from the machine.
Note: The machine should be cleaned once every month and filtered twice per month.
We also recommend you change your tank and faucet seals at least once every six months.


